You’re not alone if your Harbor Breeze ceiling fan remote isn’t working right. Many people struggle with their ceiling fan remotes. This guide will help you fix common problems and keep your fan working well.
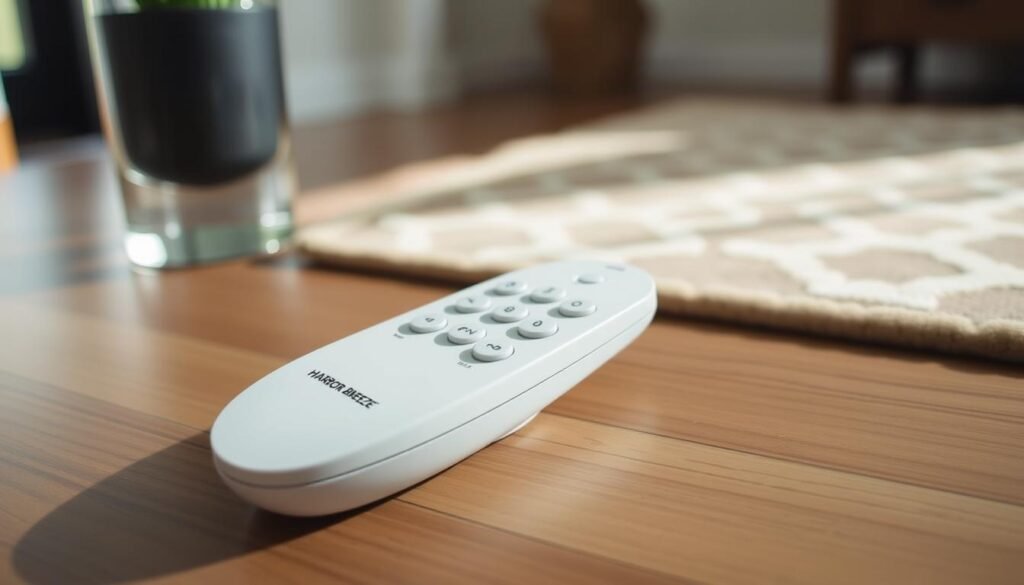
Key Takeaways
- Understand the different types of Harbor Breeze remotes and their common features
- Learn how to troubleshoot and reset your Harbor Breeze remote control
- Discover the steps to sync your Harbor Breeze remote with your ceiling fan
- Find out how to replace a damaged or lost Harbor Breeze remote
- Explore ways to operate your Harbor Breeze fan without a remote
- Maintain your Harbor Breeze remote to ensure long-lasting performance
- Utilize a universal remote to control your Harbor Breeze ceiling fan
Understanding Your Harbor Breeze Ceiling Fan Remote
Learning how to use your Harbor Breeze ceiling fan remote is key for comfort and ease. These remotes vary, each with special features and uses. Knowing the different remotes and what they do makes using your fan simple.
Types of Harbor Breeze Remotes
Harbor Breeze has many remote control models for their ceiling fans. The main types are:
- Standard wall-mounted remotes
- Handheld remotes
- Integrated remote controls within the fan’s body
Each type offers a unique experience, with different levels of features and ease of use. Knowing your remote type helps you use your Harbor Breeze ceiling fan better.
Common Remote Features and Functions
Harbor Breeze ceiling fan remotes have many features to improve your experience. Some common ones are:
- Speed Control: Change the fan speed to your liking, from low to high, for the best airflow.
- Direction Control: Switch the fan’s direction to cool or heat your space.
- Lighting Control: Adjust the light’s brightness or turn it on and off as needed.
- Timing Functions: Set the fan to turn off after a certain time or follow a schedule.
Knowing these features and how they work helps you get the most out of your Harbor Breeze ceiling fan. This ensures your space is comfortable and energy-efficient.
“The right remote control can make all the difference in the world when it comes to controlling your Harbor Breeze ceiling fan.”
Troubleshooting Harbor Breeze Remote Issues
Having trouble with your Harbor Breeze ceiling fan remote can be annoying. But, there are easy steps to fix it. This guide will help you solve problems like resetting, reprogramming, and battery issues.
Resetting and Reprogramming the Remote
If your remote isn’t working right, start by resetting it. This clears old settings and lets you start over. Find the reset button in the battery area and press it for 5-10 seconds until lights flash.
After resetting, you’ll need to reprogram it. Check your manual for how to do this. It will help you connect your remote to your fan again.
Battery Replacement and Power Issues
Battery problems are common with Harbor Breeze remotes. If it won’t turn on or seems dead, try new batteries. Make sure to use the right type and put them in correctly.
If it still doesn’t work, look at the power source. Make sure it’s getting enough voltage. Sometimes, you might need to fix or replace parts inside the remote.
| Troubleshooting Issue | Possible Solution |
|---|---|
| Remote is not responding | Reset the remote and reprogram it |
| Remote is not powering on | Replace the batteries |
| Remote is erratic or inconsistent | Check for interference or proximity to the fan |
By trying these steps, you can fix common problems with your Harbor Breeze remote. Always check your manual or contact the maker if you need more help.
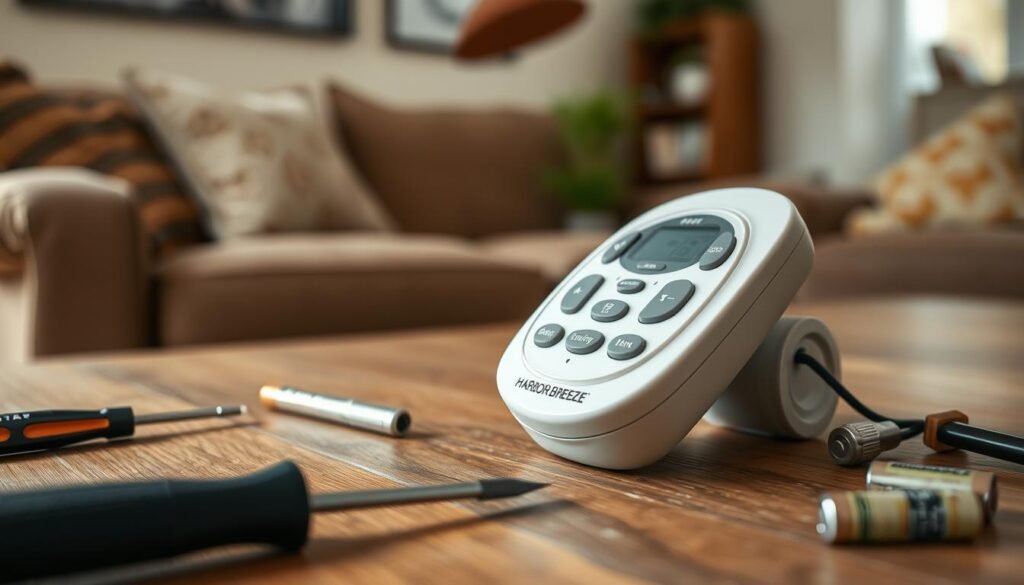
Harbor Breeze Ceiling Fan Remote Control Troubleshooting And Replacement
Having a Harbor Breeze ceiling fan remote control that doesn’t work can be really frustrating. But don’t worry, we’ve got you covered. This guide will help you fix and replace your remote. You’ll get your ceiling fan working like new again.
Troubleshooting Remote Issues
First, check why your Harbor Breeze ceiling fan remote isn’t working. It might be because of:
- Dead or empty batteries
- Other wireless devices getting in the way
- Remote parts that are loose or broken
- The remote and fan not talking to each other
By checking these things, you might fix the problem. This way, you can control your Harbor Breeze ceiling fan remote again.
Replacing the Remote
Sometimes, you need a new Harbor Breeze ceiling fan remote. This might happen if the old one can’t be fixed or if you lost it. Make sure the new one works with your Harbor Breeze ceiling fan.
Getting a new remote can also mean getting new features. You might get lights that you can control from the remote, or more speed options. Look around for the best replacement to make your Harbor Breeze ceiling fan even better.
With this guide, you can fix or replace your Harbor Breeze ceiling fan remote control easily. You’ll be enjoying your Harbor Breeze ceiling fan again in no time.
Syncing Your Harbor Breeze Remote
It’s important to make sure your Harbor Breeze ceiling fan and remote work well together. This is key for the best performance and ease of use. The manual sync method is easy to follow and helps your fan and remote work together smoothly.
Manual Sync Process
Here’s how to sync your Harbor Breeze ceiling fan remote:
- Find the learn button on your ceiling fan’s motor housing. It’s usually a small button, hidden behind a cover or panel.
- Press and hold the learn button for 3-5 seconds. The fan’s LED light will blink or the fan will spin briefly.
- Right away, press and hold the power button on your remote. The fan’s LED light will blink again or the fan will spin briefly.
- Your remote is now connected to the ceiling fan. You can control the fan’s functions with the remote.
If you have trouble syncing, check your Harbor Breeze ceiling fan’s user manual. Or, contact the manufacturer for help.
Keeping your harbor breeze ceiling fan remote and fan connected is vital. By following the harbor breeze ceiling fan remote sync steps, you’ll have reliable control over your ceiling fan.
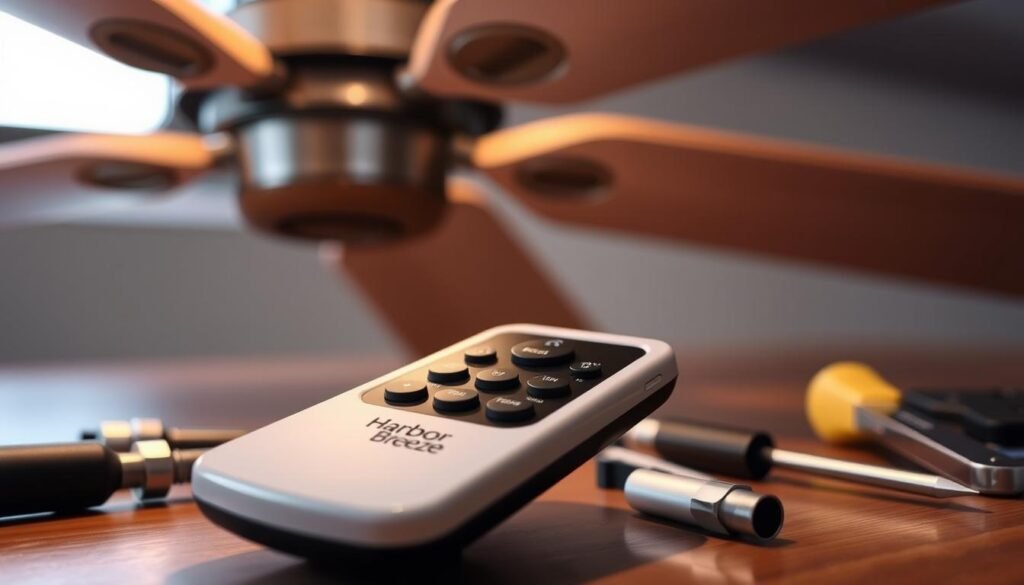
Replacing a Damaged or Lost Remote
As a Harbor Breeze ceiling fan owner, losing a remote can be a worry. But, replacing it is easy. You can fix your fan if your remote is broken or gone.
First, find out what model your fan is. Look for a label or sticker on the fan. With the model number, you can find a new remote. Stores and online shops have many Harbor Breeze remotes.
Make sure the new harbor breeze remote fits your model. This ensures it works right. Follow the setup instructions carefully, including any programming steps.
If you’re stuck, contact Harbor Breeze customer support. They can help you replace your harbor breeze ceiling fan remote fast.
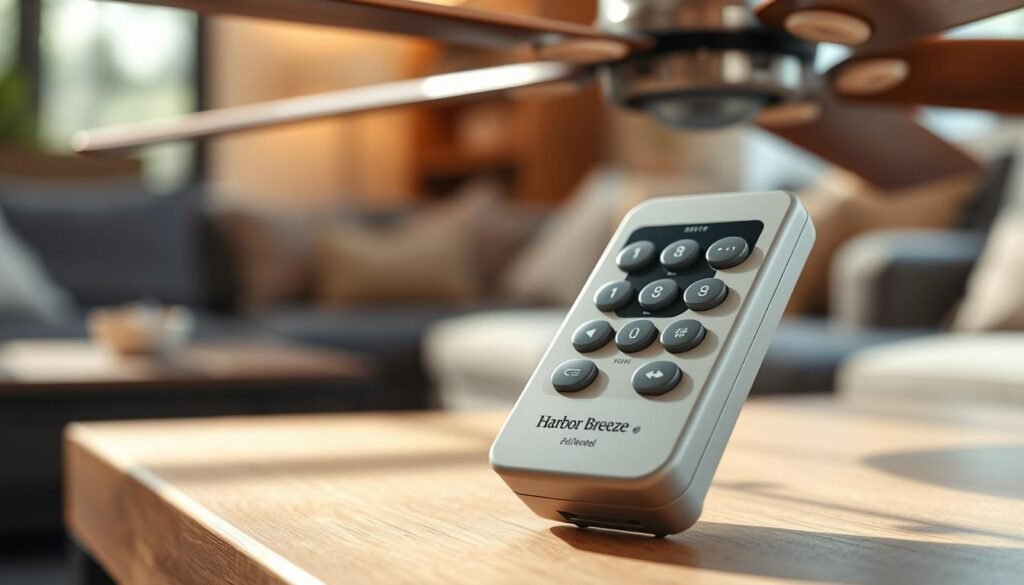
Getting a new remote is easy. Just find the right one and follow the steps. Soon, your fan will work like new again.
Programming a Universal Remote for Harbor Breeze Fans
If your Harbor Breeze ceiling fan has a remote, using a universal remote can be handy. Universal remotes let you control many devices, including your fan. First, find the right codes for your fan model.
Finding the Right Codes
To program a universal remote for your fan, you need the correct code. Here’s how to do it:
- Find your fan’s model number. It’s on a sticker or in the manual.
- Check the remote’s manual or the maker’s website for codes. They match your fan’s model.
- Enter the code into your remote and link it to your fan, as the manual says.
The harbor breeze ceiling fan universal remote codes change with fan age and model, and remote brand. You might need to try a few codes to find the right one.
“Programming a universal remote can seem daunting, but with the right codes and a bit of patience, you can easily get your Harbor Breeze ceiling fan working seamlessly with your universal remote.”
By following these steps, you can program a universal remote to control your Harbor Breeze ceiling fan. This makes adjusting the fan’s speed, direction, and lights easy without getting up.
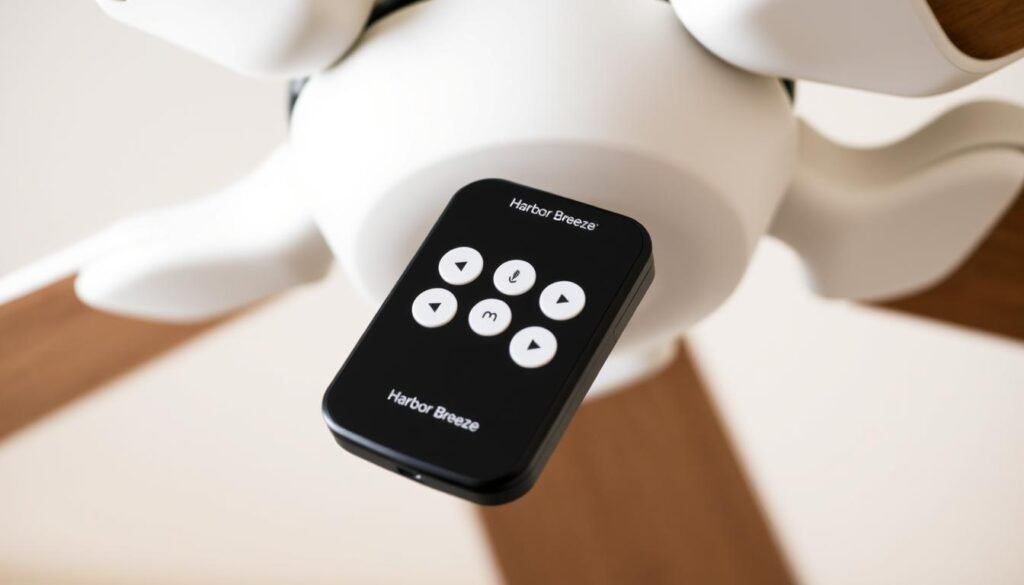
Operating Your Fan Without a Remote
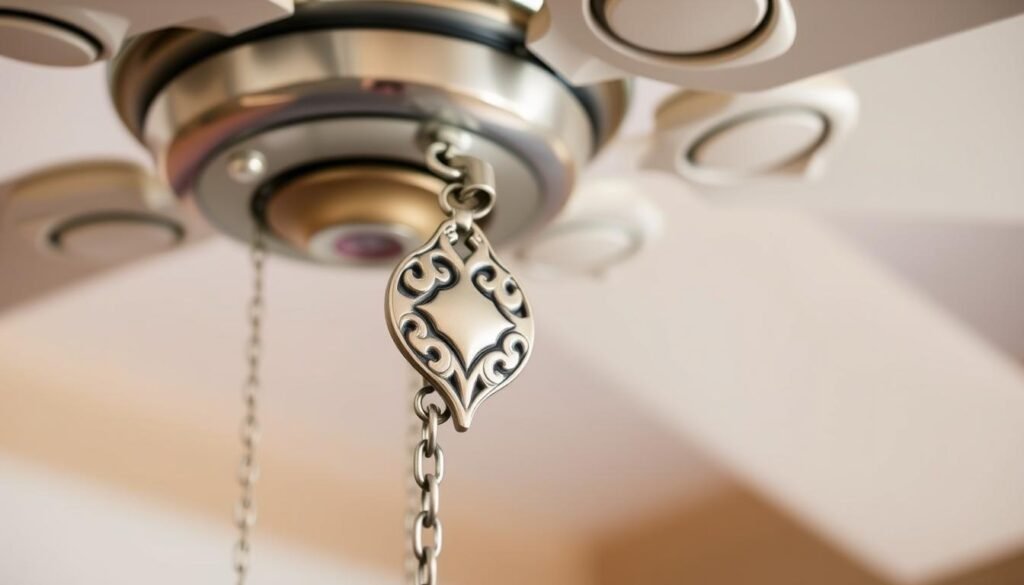
If your Harbor Breeze ceiling fan remote stops working or you can’t find it, don’t worry. You can still control your fan with the pull chains on the fan itself. These chains let you adjust the fan’s speed and turn the light on and off. This way, you can keep your home cool without the remote.
Using the Pull Chains
The pull chains on your fan control the fan’s speed and the light. To use your fan without the remote, just pull the right chain:
- To change the fan speed, pull the “Fan” chain. Each pull goes through the different speeds.
- To turn the light on or off, pull the “Light” chain. One pull will switch the light.
The pull chains only let you control the basic functions of your fan. You can’t use advanced features like timers or change the light brightness without the remote. But, the pull chains still let you enjoy your fan’s cooling, even without the remote.
Learning to turn on harbor breeze fan without remote and use the harbor breeze ceiling fan pull chain operation helps you control your home’s climate and lighting. This ensures you stay comfortable, even when the remote is not available.
Harbor Breeze Remote Maintenance Tips
Keeping your Harbor Breeze ceiling fan remote in good shape is key. It helps your remote last longer and work better. Here are some easy tips to keep your remote in top condition.
Battery Replacement
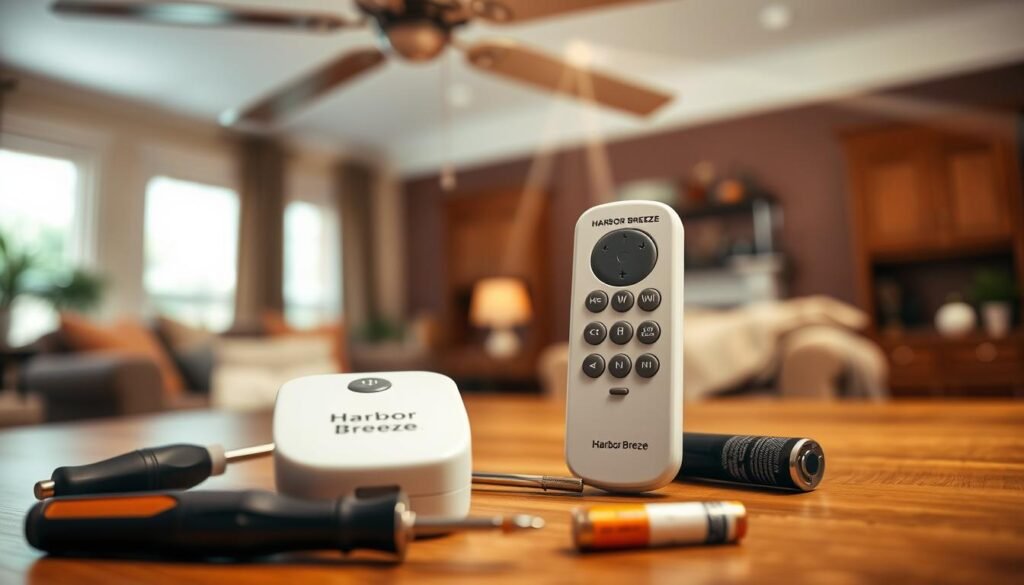
Replacing the batteries in your Harbor Breeze remote is a common task. Batteries can run out, making the remote not work right. Change the batteries every 6-12 months or when the remote starts to act up.
Remote Cleaning
Cleaning your Harbor Breeze remote often is important. Dust and dirt can mess with the buttons and sensors. Use a soft, dry cloth to clean it. Don’t press too hard on the buttons. And don’t use liquids or harsh cleaners, as they can harm the inside.
Storage and Protection
When you’re not using your Harbor Breeze remote, keep it in a safe, dry spot. A drawer or cabinet is good. This protects it from drops, spills, and moisture. You might also want to use a protective case or cover.
Troubleshooting and Maintenance
- Check the remote often for wear or damage, like cracked or loose buttons.
- If the remote stops working or loses connection, try resetting or reprogramming it. Follow the manufacturer’s guide.
- Don’t let the remote get too hot or cold. Extreme temperatures can hurt its performance and life.
By following these tips, your Harbor Breeze ceiling fan remote will keep working well for a long time. Taking good care of it can really help it last.
Conclusion
In this guide, we’ve looked at how to fix and replace Harbor Breeze ceiling fan remotes. We’ve covered everything from the types of remotes to common problems. This will help your fan work its best.
Dealing with programming, battery issues, or a lost remote? This article has the answers. With the right knowledge, you can fix any problem with your remote. This keeps your ceiling fan working well and makes your home more comfortable.
Keeping your Harbor Breeze ceiling fan in good shape is key. Stay on top of any remote issues right away. Use the tips and guidelines in this guide to keep your fan running smoothly for years.
FAQ
To reset your Harbor Breeze ceiling fan remote, find the reset button. It’s usually a small hole or button. Use a paperclip or similar tool to press and hold it for 5-10 seconds. The remote will flash or beep when it’s reset.
First, check the batteries and replace them if needed. If it still doesn’t work, try resetting or reprogramming the remote. If it still doesn’t work, you might need a new remote.
To program a new remote, turn off the fan’s power at the circuit breaker. Find the learning button on the fan’s motor housing. Press and hold it until the fan’s light blinks.
Within 60 seconds, press any button on the new remote. The light should blink again, showing it’s paired.
Yes, you can use a universal remote. First, find the correct code for your fan model. Then, program the remote according to the instructions. You can also contact Harbor Breeze for the right code.
To change the batteries, find the battery compartment on the back of the remote. Remove the old batteries and put in new ones, following the correct polarity. Some remotes need a small screwdriver to open the compartment.
If you lost your remote, buy a new one from Harbor Breeze or a third-party retailer. Make sure it’s the right model for your fan. You’ll need to reprogram the new remote to work with your fan.
Without the remote, use the pull chains on the fan’s motor housing. They let you control the fan’s speed and turn the lights on and off.