Despite the fact they are reliable and have a longer lifespan, Casablanca ceiling fans or some of their parts stop working. It’s normal that with time some fan parts may need repairing or replacing. The fan parts that are most likely to be damaged are the electronics. Storms, voltage sparks, and other factors cause damage to the electronic components. So, it becomes necessary to fix or replace the suspected fan part.
Some problems are not as extreme as they seem and just require some troubleshooting. In some cases, you need to replace the damaged fan part with a new one to bring your fan back to life. And the worst of that, is sometimes your fan becomes totally damaged and is irreparable, so you’ll have to buy a new fan.
However, here I will discuss some common problems with each fan part and tell you the best possible solutions to these problems. I’ll help you to identify the exact problem as understanding the root of the problem is necessary. This will help you to find and fix the problem with your fan or any of its parts accordingly. So, here are the main points that I’m going to discuss below:
- Which issues can commonly happen to any fan part
- How to troubleshoot several issues with the fan part
- How you can replace the faulty part if needed
- Where can you get replacement parts
So if your is having an issue, this guide will really help you out, keep reading!
Common Issues With Casablanca Ceiling Fans Parts & Accessories (Fixes)
Before going into a detailed discussion about issues with the fan parts and their causes and fixes; I think it is necessary to understand the function of each part separately. So I’m going to mention the purpose of each part then we’ll go into an in-depth discussion about troubleshooting fan issues. I’ll also share easy steps for replacing the trouble-causing part. So, let’s start with the motor:
Motor
The motor gets power from the circuit breaker and is responsible to rotate the blades and generate airflow. There are two types of motor used in the ceiling fans that are: DC motor and AC motor. Motors can be single-speed and multi-speed depending on the model of fan you buy.
Nowadays, most ceiling fans have reversible motors which means that you can change the direction of airflow. This feature helps you to enjoy cool air in summer and hot air in winter. So, check the specifications of the motor before buying the ceiling fan from any company. Almost all Casablanca ceiling fans have 4-speed settings and the reversible motor option.
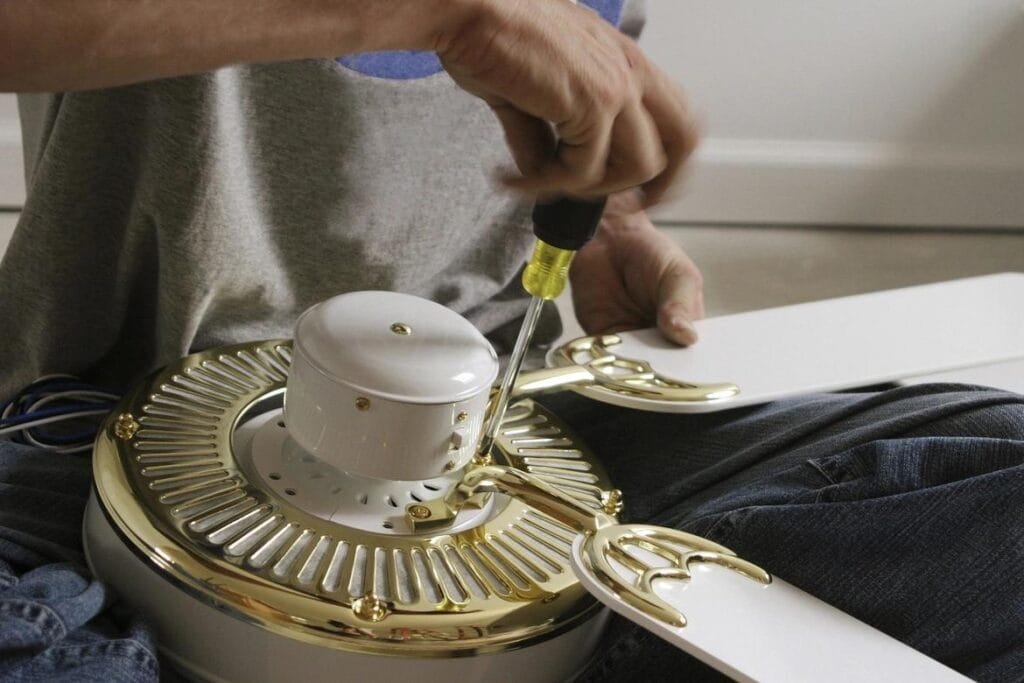
What are the Symptoms of a Problematic Motor?
The signs which show that the problem is with the motor are:
Inability to reverse the fan’s direction
When the season changes, you need to switch the spinning of blades from clockwise to anti-clockwise(or vice versa) direction. This is necessary to enjoy hot or cool air according to the season. You can reverse the direction using the remote or the wall switch. If you’ve tried to reverse the direction by pressing the remote button or using the wall switch and the fan doesn’t change the direction. It means that something is wrong with the motor.
Slower than usual operation
If you notice that your fan is spinning at a lower speed than usual, it also shows that there is some issue with the motor. Sometimes it happens due to a dead or faulty capacitor. So, before assuming that the issue is with the motor itself, please try to change the capacitor. If the issue was with the capacitor, then the fan will return to normal working. Otherwise, the issue is with the motor so that it is spinning the blades slowly.
Unusual noises from the motor
If you hear noise from the fan motor that you’ve never heard before. This means that something is bad with the motor which is causing the motor to make noise. If so, call an electrician, he will help you fix the motor or guide you otherwise.
Fan blades do not rotate properly
If the blades of your ceiling fan are not rotating as they should, it also shows that the issue is with the motor. Because the motor is responsible to spin the blades. So, when there is something faulty with the motor, it is unable to rotate the blades smoothly and generate a good airflow.
Please make sure that the issue is with the motor, not any other part. Inspect and test to confirm which part is causing issue.
What Is the Possible Solution to This Issue?
If you notice any of these issues with your ceiling fan motor, there are some steps you can take to get rid of this issue:
The first thing you should do is to call or email Casablanca’s customer service and explain your issue. Don’t forget to mention your fan’s model number and it’s good to attach a picture of the fan.
Another thing you can do is check the warranty manual to see if the warranty is still valid. If the warranty is valid, register your fan on the Hunter Fan website and claim a warranty. Hopefully, your issue will be resolved within the warranty. You can read my article: How to Register Your Casablanca Ceiling Fan Warranty? Here I’ve explained all the questions related to warranty, so this will answer all your concerns about the Casablanca fan warranty.
If you have an unsuccessful call with them or the warranty doesn’t cover the issue then replace the motor with a new one. Make sure to buy a new motor that is compatible with your fan’s specifications and model. After buying the motor, call the electrician to carry out the replacement process.
Blades
The blades of the fan circulate air throughout the room. The size, shape, and material of the blades all affect how well the fan can cool or warm a room. It also measures how much noise it will make. The most common Casablanca ceiling fan blade sizes include 44-inch, 52-inch, 54-inch, 56-inch, and 60-inch. The smallest Casablanca fan model is 31-inch while the largest is 64-inch (currently available).
What are the Symptoms of Problematic Blades?
Sometimes the ceiling fan does not operate properly due to faulty blades. You must inspect the blades, common signs of a problematic fan blade include:
- The ceiling fan blades make a rattling noise
- The blades wobble or vibrate excessively, which can cause noise and disruption
- The fan is not generating enough airflow
- The blades may be bent, warped, chipped, or cracked
- The blades are rusted or corroded
- There may be a small gap between the ceiling fan blades and the motor
If you notice any of these symptoms, then you can be assured that there is something wrong with the blades.
How to Fix Common Problems with the Blades?
Now, I’m proposing here some easy solutions so you will be able to solve these issues by yourself:
Rattling noise: To get rid of unwanted noise from the fan, check the blade screws that hold the blades to the motor. If the screws are loose, tighten them or replace them if broken.
Wobbling or Vibrating Excessively: Usually a fan starts wobbling or vibrating when the blades are out of alignment. This means that the blades have lost their balance. To remove the wobbliness, you can follow the same step above. But if the screws are tight and perfect, then attach a balancing kit to the blades. A balancing kit helps to balance the blade’s weight. Please note that sometimes even when the blades are balanced and the screws are tight the fan still wobbles. This happens when the fan motor is faulty and is unable to rotate the blade properly.
You can read my article: How to Fix a Wobbly Harbor Breeze Ceiling Fan? Although this article explains fixing Harbor Breeze fans but the wobbling issue can be easily solved by general steps. Here you will learn how to attach a balancing kit to the blades in an easy way. It will be really helpful for you if you’ve got the wobbling issue due to imbalanced blades.
Not generating enough airflow: Of course, the main cause of this problem is a bad motor. But sometimes some issues with the blade cause your fan not to generate a good airflow. If the blades are not attached to the motor correctly, remove and reinstall the blades. And if the blades are bent, replace the blades with the original or compatible blades. Attempting these steps will bring back the fan to normal airflow if the issue is not with the motor.
Signs of rust or corrosion: You should clean the fan blades periodically to prevent rust and dust buildup. The dust buildup also influences the fan speed; the speed of the blade spinning decreases. Of course, it causes aesthetic problems on which nobody compromises. So it is best to clean your fan blades at least once after two months. If the blades are rusted, bring the fan down, remove the blades, and repaint them. I’ll tell the cleaning process later on.
Small gap b/w the fan blades and the motor: It causes air to escape and creates more noise than necessary. You should adjust the gap by loosening or tightening the screws that hold the fan blades to the motor.
So, these are the best solutions to the common problems people face with the ceiling fan blades regardless of from which brand they are. Let’s see how we can clean the blades in a proper way.
How to Clean the ceiling fan blades?
As dust buildup reduces air circulation, it further causes the fan motor to overheat. Cleaning is not so difficult, just you’ve to make mind and start it. Here is how you can do it effectively:
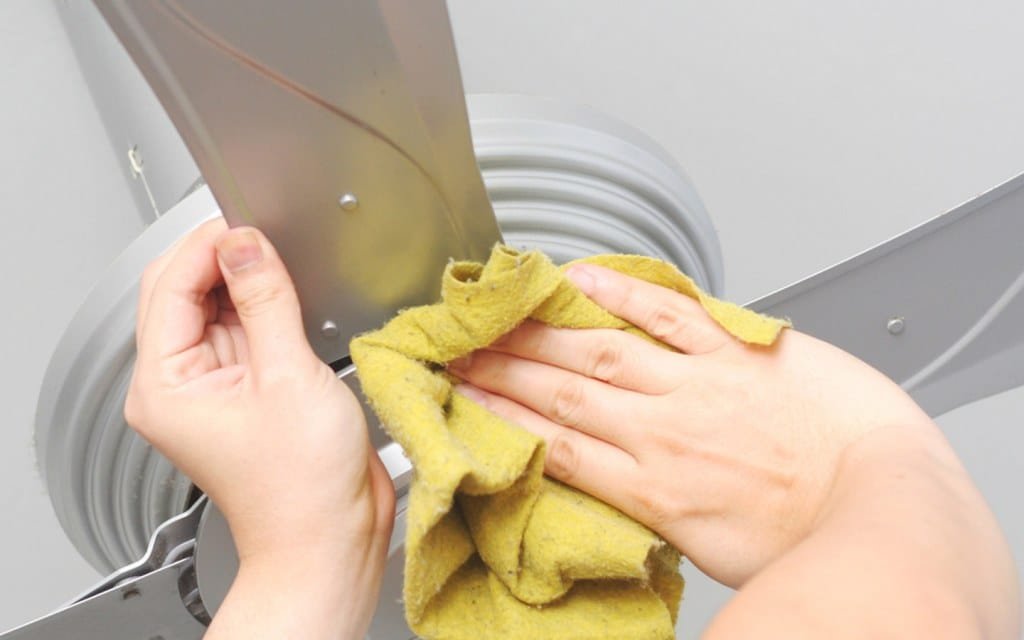
- Turn off the power to the fan and set up a ladder under the fan if it is high enough.
- Step up the ladder and remove any light bulbs or glass covers.
- Next, pick a vacuum cleaner (with an extension wand attachment) and use it to remove dust from the blades.
- Use a microfiber cloth or brush attachment on the vacuum to remove all dust from crevices and grooves in the blades.
- Once done, use a damp rag to wipe off residual dust particles.
- Reattach the light kit (bulbs and cover/globe).
- Step down the ladder and turn the power back on to see its working.
If the blades are not wobbling and the airflow is normal then you’re all done.
How to replace your ceiling fan’s blades?
If none of the above solutions works or the blades are bent, then you should replace them. You must buy replacement blades that are compatible with your fan model. You can contact Casablanca to ask for the best replacement blade set or ask them if they have any.
If you can’t contact them somehow, search the blades on online retailers such as Lowe’s, Home Depot, and Amazon. One thing to remember is that when you’re buying any replacement part not only blades for the ceiling fan, you must always ask the dealer questions about the product.
Share your model number and attach a picture too if you’ve the option. And ask them whether the product will be compatible or not. After getting a response, decide if you want to buy or not.
Blade Replacement Instructions:
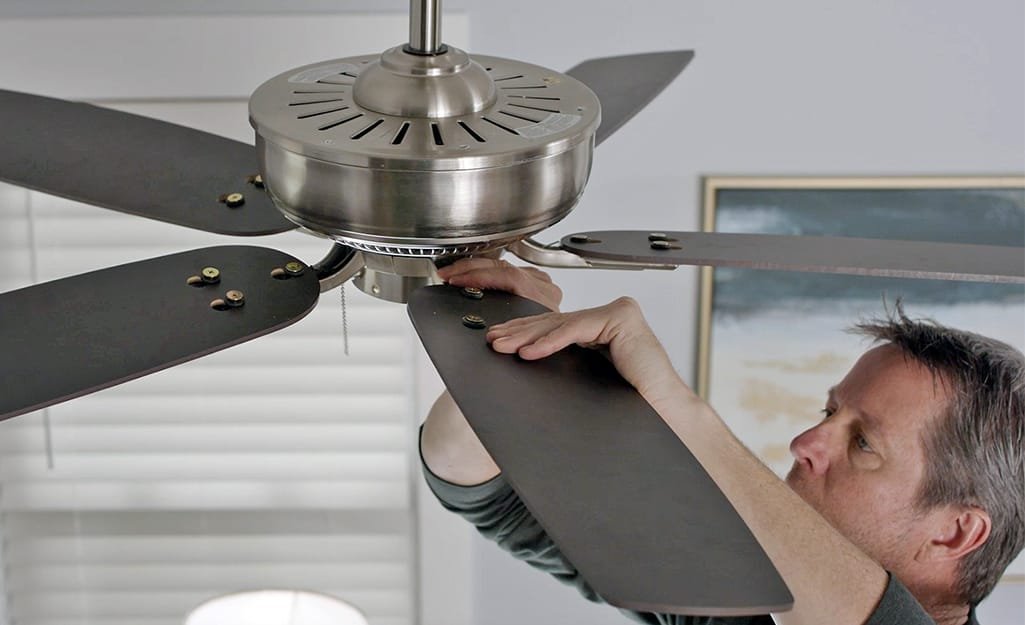
However, let’s suppose that you’ve bought the best replacement blade set that will work fine with your fan model. Replacing process is a bit risky as you’ve to deal with electricity. So, if you feel uncomfortable or you don’t have basic Know-how of electricity, I would recommend you to call a certified electrician. But the replacement process is not so difficult. If you’re confident and want to carry out the replacement by yourself, here are easy steps to follow:
- Turn off the power carefully and set up a ladder under the fan if you can’t reach it.
- Try turning on/off the fan through the wall switch or the remote.
- Once you’ve confirmed that the electrical connection is off, step up the ladder (take a screwdriver along with you).
- Have a helping hand who will provide you with help so you don’t have to step up and down the ladder.
- It’s better to bring the fan down to the floor. The process will become really easy for you.
- Unscrew the all the screws that are joining the blades and the blade arms.
- Once all the old blades are removed, you can attach the new ones. Tighten the screws with a screwdriver and then secure the blade brackets in place with washers.
- Re-install fan hardware following the same steps as you removed the fan in reverse order.
- Turn the power back on and check if the new blades are not wobbling and working perfectly.
If you notice some issues, I’ve mentioned the troubleshooting steps for common issues above. Check the solution there or call an electrician.
Blade Arms
Blade Arms are what attach the blades to the fan’s motor. You can say that these arms act as a support for the fan blades to make them spin correctly. Blade Arms come in different shapes and sizes depending on the type of ceiling fan, but the most important part of their design is the hole pattern. Each fan has a specific hole pattern similar to both the blades and the blade arms where you align and insert screws.
Role of Blade Arms:
They are attached to the motor, which rotates the fan. When you provide power and the motor is turned on, it creates a magnetic field that causes the blades to spin around in circles. As the motor spins faster and faster, so do the fan blades until they reach their maximum speed (adjustable). The blade arms keep them from spinning too fast and damaging the fan and its components.
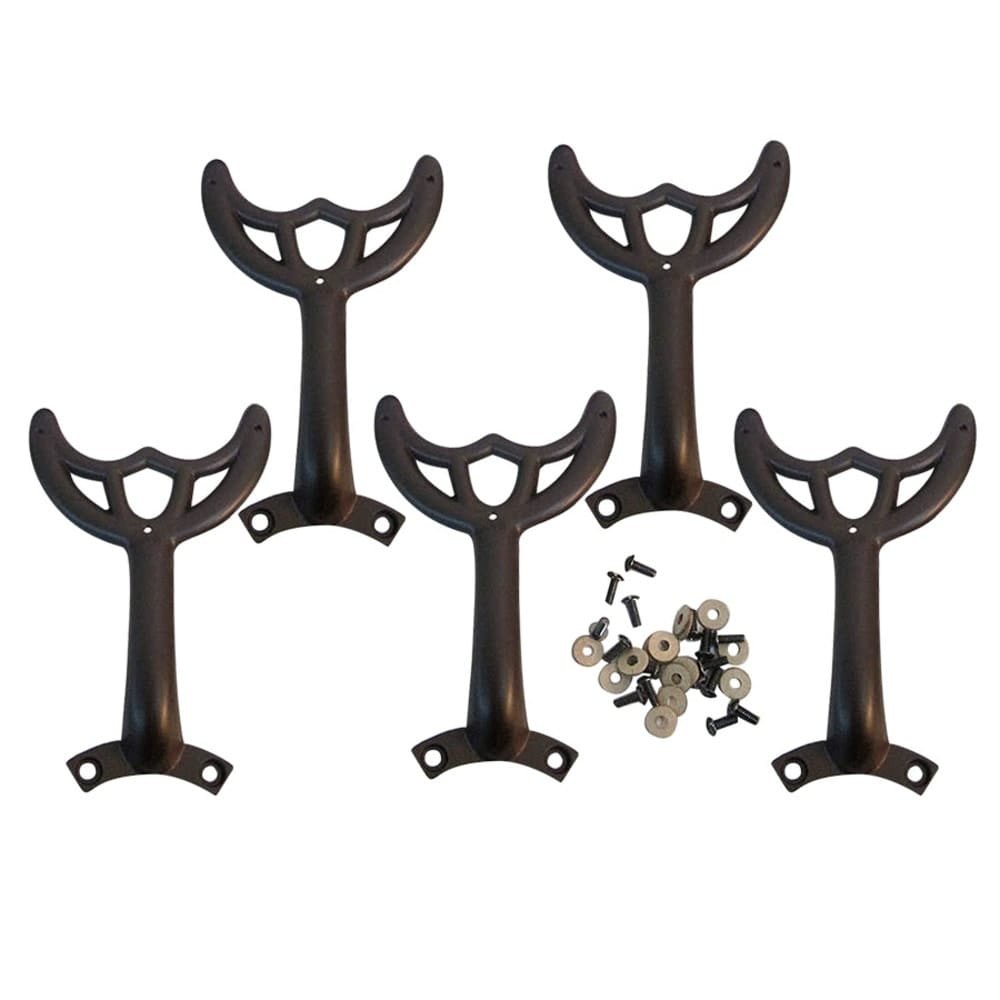
Symptoms of Problematic Ceiling Fan Blade Arms
If you notice that your ceiling fan blades are wobbling, vibrating, or making noise when running, it’s likely the blade arms are loose or damaged. Mostly it happens with normal usage over time, as everything is meant to expire. It also happens when you clean the blades and the arms carelessly and they get knocked out of place. In this case, you should replace the arms kit on your fan. The arms set is not so expensive, just match the hole pattern and buy any local or original arms set. It will work fine.
How to replace ceiling fan blade arms?
So, if you have bought a matching arms set, let me tell you how to replace them. Basically, the same process goes with the arms as with the blades. Just you have to do an additional step which is you’ve to remove the blade arms after unscrewing and removing the blades. Unscrew the arms and place each new arm in place and screw them. After connecting the arms to the motor, align the holes of both parts and screw them one by one. Reattach the fan to the ceiling and check if it is working normally.
Light kit Covers/Globes
Light kit globes are used for two main benefits:
- to protect the light from dust and debris
- to enhance the aesthetic of your lighting fixture
They come in a wide variety of styles and colors, so you can easily find one that will match your fan’s design. I’ve found that most people search for replacement globes when their globe falls and shatters on the floor while changing the bulb.
If you’re about to change the bulb, I would recommend you remove the globe and put it aside like on a table before changing the bulb. Otherwise, you’ll face the same situation that most people have already faced.
Whether you’re replacing or installing a new light kit globe, you must make sure it fits securely. It should not be too tight or loose. Therefore, I would recommend checking the manual, or contact the company’s customer service to ask which size or design will be best for your fan model.
How to replace the ceiling fan glass globe?
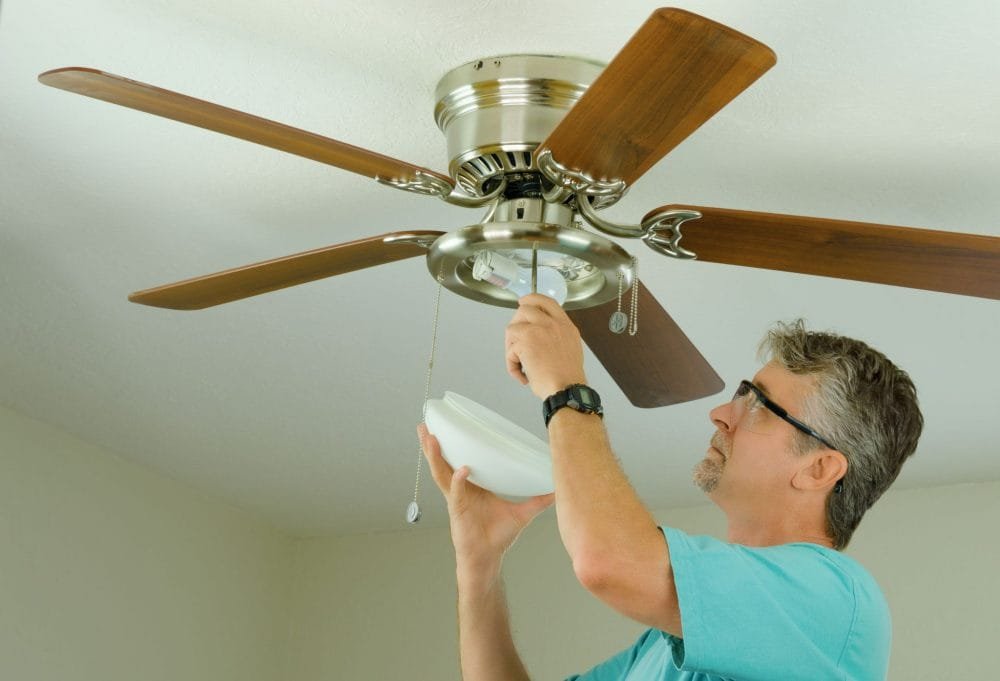
Replacing the glass globe is not so difficult. You can do it by yourself easily by using a few basic tools. Most glass globes are attached by a small metal bracket, while others may have clips or screws to attach the globe to the fan body. Whatever tool is used, you’ll need to remove it. Here is the proper complete method:
- Turn off the power and use a step ladder to reach the fan.
- Remove the glass globe by releasing any clips, screws, or metal bracket that is holding it in place.
- Gently twist the globe anti-clockwise until it comes loose.
- Once the old globe has been removed, insert the new globe.
- Secure it in place and reattach all clips/ screws/ metal brackets.
- Make sure the globe is not loose.
- Turn the power back to the fan to check if the installation process has been successful.
Light Kits
Modern ceiling fans come with a feature of light kits that are designed to provide lighting in a room. So, you don’t have to buy and install sockets and bulbs separately. Light kits usually have two, three, or four bulbs covered with shades or globes. You can operate these bulbs independently from each other or together. The lights can be either incandescent or fluorescent, depending on the kit and the wattage of each bulb.
Common problems with ceiling fan light kits and how to fix them?
There are several issues that you can face with your fan’s light kit. Here are some of the most common problems and their respective solutions:
The light won’t turn on: If your ceiling fan light kit isn’t turning on, first of all, you should make sure that it is getting power. Check the circuit breaker. If the circuit breaker has tripped, reset it and see if the light turns on. If it doesn’t turn on, then check all of the wiring connections to the kit. Make sure the wire connections are tight and secure. If the wiring is okay, then the best solution is to replace the light kit. If you wish, call in a trusted electrician and let him see.
The lights flicker: The light kit bulbs can flicker due to many reasons. These include loose wires, faulty bulbs, or faulty switches. Check the wiring first and then the bulb. You can check the bulb by installing it in any other socket in your home. If both the wiring and the bulb are fine, replace the switch that turns on the bulb.
The lights dim when turned up: This problem happens when you install too many bulbs with high wattage. It overloads the electrical circuits causing the bulbs to provide low or dim light. Replace some of the bulbs with lower-wattage ones so that the circuit isn’t overloaded.
Sometimes the problem is due to another reason that you can’t figure out. I’m not seeing your setup directly, so the solution may not fit. In case the solutions I’ve provided above don’t work, you should call an electrician.
How to replace/install a ceiling fan light kit?
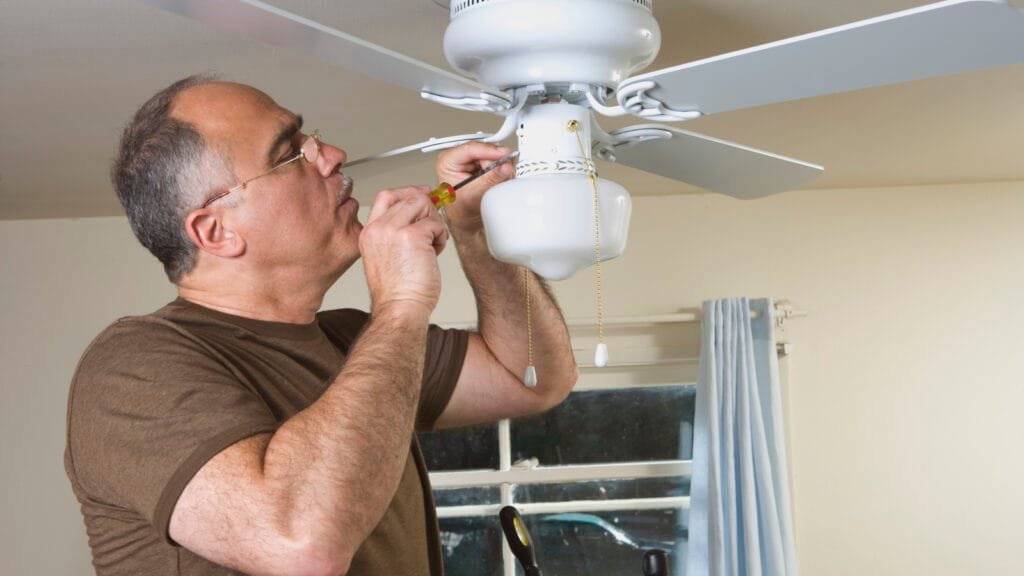
Before getting started, you’ll need to gather some important tools and supplies necessary for installation. These tools are:
- Ladder
- Screwdriver
- Electrical tape
- Wire strippers
- Pliers
- Ceiling fan light kit (including mounting bracket, cover plate, and screws)
Installation Instrucions:
After gathering the tools, you can begin installing the light kit. Here are the steps:
- As all of us know the beginning steps very well, turn off the power to the fan and set up the ladder to reach the fan of course if you need.
- Step up the ladder and begin removing the existing light kit from your fan, if you’re replacing it. Otherwise, you can skip this step.
- Remove the glass/plastic globe or cover first and then remove the bulb/bulbs one by one.
- But if your fan has exposed bulbs then you’ll not need to remove the globe.
- You can remove the entire light fixture at once, but it’s safe to follow the easy steps(2) above.
- After removing the globe and bulbs, search for the screws four screws through which the light kit is attached to the motor assembly.
- Using one hand, hold the base of the light kit.
- Now by using your free hand, start loosening each screw with a screwdriver.
- Once all the screws are off, take the light kit and handover to your helping hand (friend) on the floor.
- Now, ask your helping hand to pass the new light kit to you.
- Attach its mounting bracket, secure it with the screws, and insert the bulbs. Then add the light kit cover or globe.
- Here one thing is important to consider that is you should always secure all the wiring with electrical tape to increase safety.
That’s it. Check the light kit if it turns on or not. Provide power to your fan and turn on the wall switches for the light and the fan to see. If you only want to replace the bulbs then:
- Remove the light cover if your fan has one.
- Remove the old bulb by twisting it and insert new bulb into the socket.
- Reattach the globe and check if the bulb turns on.
- If not, keep on repeating the steps multiple times.
Mounting Bracket
A mounting bracket is a device made up of metal that helps to attach a ceiling fan to the ceiling. This includes both the electrical wiring and physical structures such as joists or beams. The brackets are designed to be installed between the fan motor and the junction box to make all connections between them safe and secure. This is done with the help of a few screws and some electrical wires.
The mounting bracket also allows for proper ventilation around the motor. It also prevents any vibration from the motor which causes it to become unstable or malfunction. It provides a stable base for the fan blades to rotate without causing any damage.
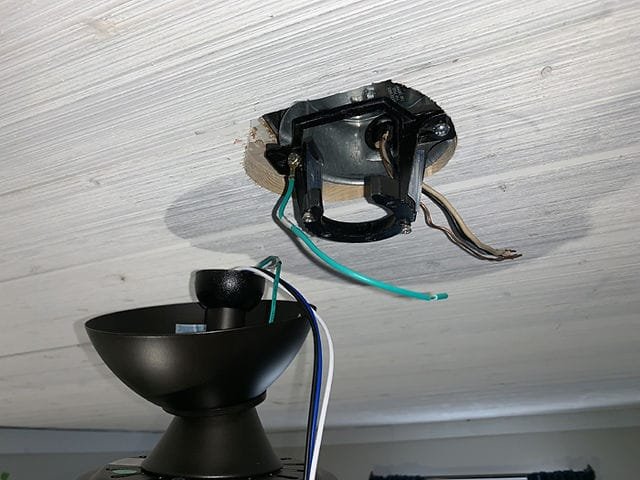
Common Problems that Happen to a Mounting Bracket
The most common issues people face with the fan’s mounting brackets are:
Improper installation:
If you install the mounting bracket as it is supposed to be, this will lead to the following issues:
- Risk of it becoming detached
- Vibrating excessively
- As the electrical wiring isn’t properly connected, it will cause potential safety hazards.
Incorrect bracket size:
When an incorrect size bracket is used, it leads to an unstable fan, as the bracket is either too big or too small. It may not fit securely against the existing structure. Moreover, it may prevent proper ventilation around the motor and cause it to overheat and malfunction.
Inadequate support:
The bracket must be securely attached to a strong structure such as joists or beams in order for it to properly support the fan. Without enough support, the fan may become detached from the ceiling, causing injury or property damage.
I would recommend you call an electrician to install your ceiling fan first. You can do replacements yourself if you feel you can. Otherwise, it’s always best to leave the task to a professional. If you are facing any of the above issues, contact a trusted electrician to reinstall or replace the mounting bracket.
Pull chains
Pull chains are also known as beaded chains. These chains are used to control the operations of a ceiling fan. You can control the speed at which their fan operates and switch it on or off. You can turn it on or off and dim or enhance the light kit’s brightness.
The chains are connected to the motor’s capacitor through two wires in order to adjust its speed, light, and power. As you pull the chain, the capacitor receives a signal and performs the relative task. Casablanca ceiling fans have one or two pull chains; mostly they have two. The chains a beautiful aesthetic to your space.
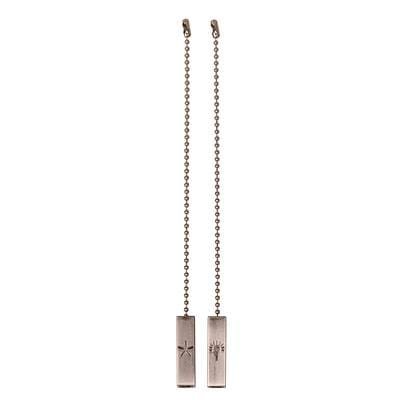
Fixing Common problems with the pull chains
There are three problems you may face when working with the pull chains. These can either stuck, get broken, or become tangled.
Broken Pull Chain: If the pull chain is broken or the links have come undone, you’ll need to replace them with a new one. Be sure to buy a replacement that matches your existing design and fits within the fan’s casing.
Stuck Pull Chain: If the pull chain is stuck and won’t adjust the fan speed, it could be due to a dust build-up in the fan’s casing. This occurs when someone pulls too far out of its holder, so it becomes jammed.
To resolve this issue, follow the instructions:
- Open up the fan casing.
- Carefully inspect the inside for any debris
- If there is dust or dirt, use a soft cloth to clean it away
- Reattach the chains, close the casing
- Turn on the power and check if it works
Tangled Pull Chain: If the pull chain is tangled or has been bent at an angle, you’ll need to carefully untangle and straighten it if needed. Gently try to untangle the chain manually. Pull each link from both ends until the chain is completely straightened. You will need to replace the chain if it gets damaged while untangling it or if it is severely bent.
How to replace a ceiling fan pull chain?
Here are the steps you can take to replace the pull chains:
- After turning off the power to the fan, reach up and locate where the pull chain attached to the fan motor.
- Unscrew the canopy to reveal two wires going from the motor to a switch.
- Unscrew and loosen the wire nuts holding these wires in place, then disconnect both of them from the switch.
- Remove any remaining screws keeping the old switch housing in place, then carefully detach it so that you can access it fully.
- Thread new pull chains through your fan’s blade assembly and into the switch housing.
- Connect the two wires leading from the motor to their respective connection points on the new switch, then secure them with wire nuts.
- Replace any screws and secure the switch in place, be sure that nothing is blocking its attachment to the fan blade assembly.
- Turn on the power at your circuit breaker and test out the new pull chains.
If all works well, turn off the power again before reattaching the canopy to the fan’s base and replacing screws from earlier stages of the replacement process.
Remote Control
To solve issues about the remote control, read my article: Is Your Casablanca Ceiling Fan Remote not working? Resetting, Replacement & Troubleshooting Guide. As the name of article is suggesting what you’re going to get there, be sure to check it out.
Downrod
Ceiling fan downrod are metal rods that connect the motor of a ceiling fan to the mounting bracket on the ceiling. These rods help adjust the height of a fan and provide stability during operation. The length of a downrod is important as it ensures the proper air circulation. It avoids damage to ceilings and fan blades.
How to replace your ceiling fan’s downrod?
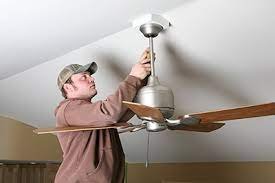
Here is how you’ll replace the downrod on your ceiling fan:
- Remove the screws that hold the fan’s canopy to the mounting bracket and let the canopy slide down through the down rod freely.
- Test the wires for voltage using a voltage tester. If it reads any voltage in the fan, check your power connection and turn it off, especially from your home’s circuit breaker.
- Then, carry on the process and disconnect the wires by removing the wire connectors and separating them. Lift the ceiling fan to unseat it.
- Carefully lift the fan from its position and hand it to someone on the ground.
- Check the base of the down rod for a pin and clip system. Loosen the screws(In most cases, there will be two), use needle-nose pliers to remove the clip, and pull out the pin. Slide out the down rod.
- Take the new rod and slide the ball joint onto it. Insert the metal rod and pull the ball joint up so that the rod fits securely into its slot.
- Thread the ceiling fan’s wires through the bottom of the new down rod. Once the down rod is in place, insert the pin and secure it with the clip. Tighten the screws around the base of the down rod.
- Re-install the fan as it was installed before.
Wrapping Up
To wrap up the long discussion above, I would say that I’ve tried my best to provide you easy as well as thorough troubleshooting tips on each fan part. I hope that you’ll find it easy to troubleshoot a damaged fan part using the guidelines above. Please remember that sometimes the issues aren’t resolved just by troubleshooting, you may also need to replace the faulty part. And on the top of that, some issues with the fan motor cant be fixed, you might need to buy a new fan. So, you should always consult with an electrician or the Casablanca’s Customer Support if you’re unable to understand what the issue and what should you do.